
There is a specific look to a living-room console setup that has grown by accretion. A PS5 standing upright on a sagging IKEA unit, a controller charging off a white cable taped to the skirting board, an HDMI lead sagging behind the TV like a washing line, and an overhead ceiling light that makes the whole corner feel like a waiting room. It works. It just looks like nobody decided anything.
This roundup is about the fix, and specifically the fix that has to survive a shared household. Everything here lives in a room other people use, so it needs to read as furniture and lighting rather than gamer gear. Nine items, spread from about twenty dollars to eight hundred, covering light, sound, surfaces and the cables nobody has dealt with yet.
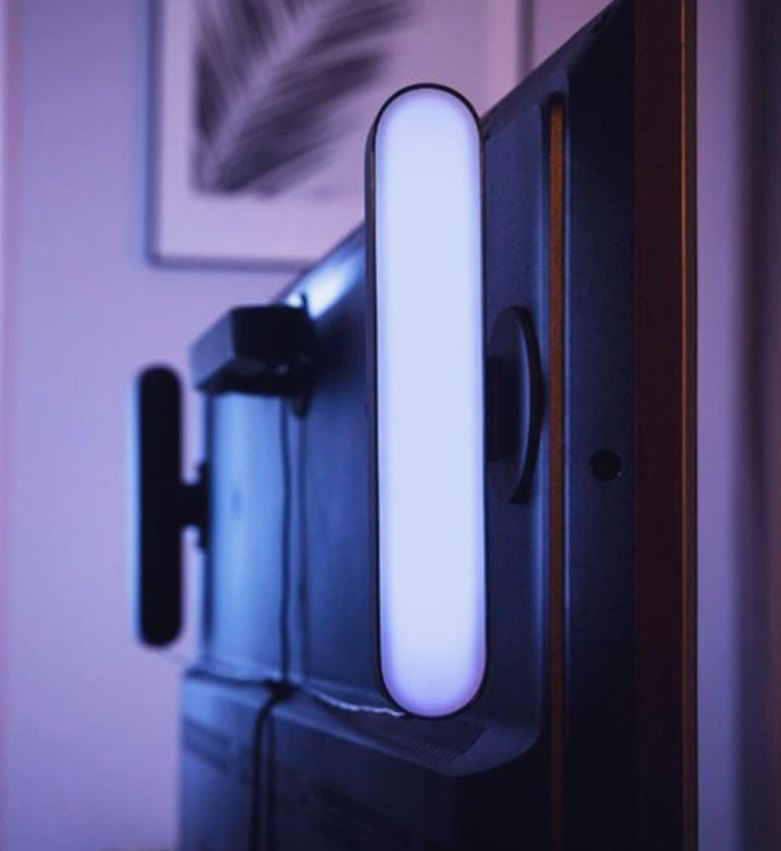
Two slim bars that sit behind the TV, either on the stand feet or clipped to the back panel, washing colour onto the wall. The effect on a dark living room is immediate: the screen stops being a glowing rectangle floating in blackness and starts looking like it belongs in the room. Eye strain during long evening sessions drops too, because your pupils are not constantly adjusting between a bright panel and a dark wall.
The reason to pay Hue money rather than grabbing a cheap USB strip is the ecosystem. The bars integrate with the Hue Sync box or the desktop Sync app, dim politely for film night, and can be set to a warm neutral white when your partner wants the room to look normal. They are also genuinely well made, with a weighted base rather than adhesive foam.
$119 – $159
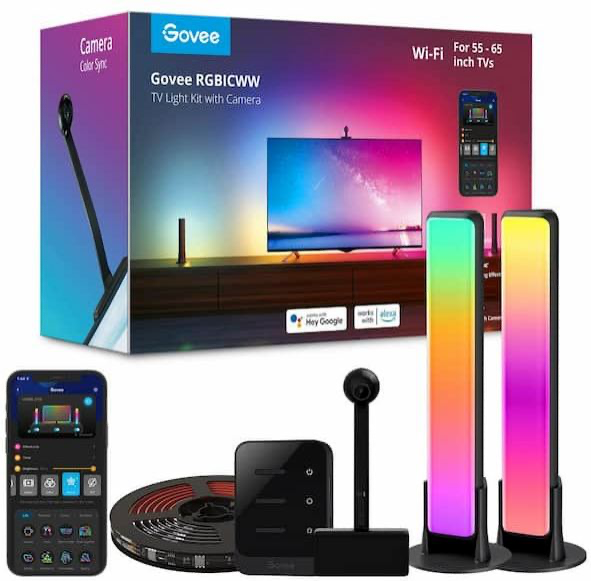
A light strip plus a small camera that clips above the TV, reading the edges of the picture and matching the LEDs to it in real time. During a game, the wall behind the screen shifts with the environment: cold blue in a rain-soaked street, amber when something explodes. It is the single most dramatic visual upgrade on this list per dollar spent, and it is the thing visitors comment on.
It is worth being honest about the trade-offs. Camera-based sync is less precise than an HDMI box, needs a one-time calibration, and the camera is visible if you look for it. But it works with a console directly, requires no extra device in the signal chain, and the adhesive strip takes about twenty minutes to install if you clean the TV back first.
$59 – $109
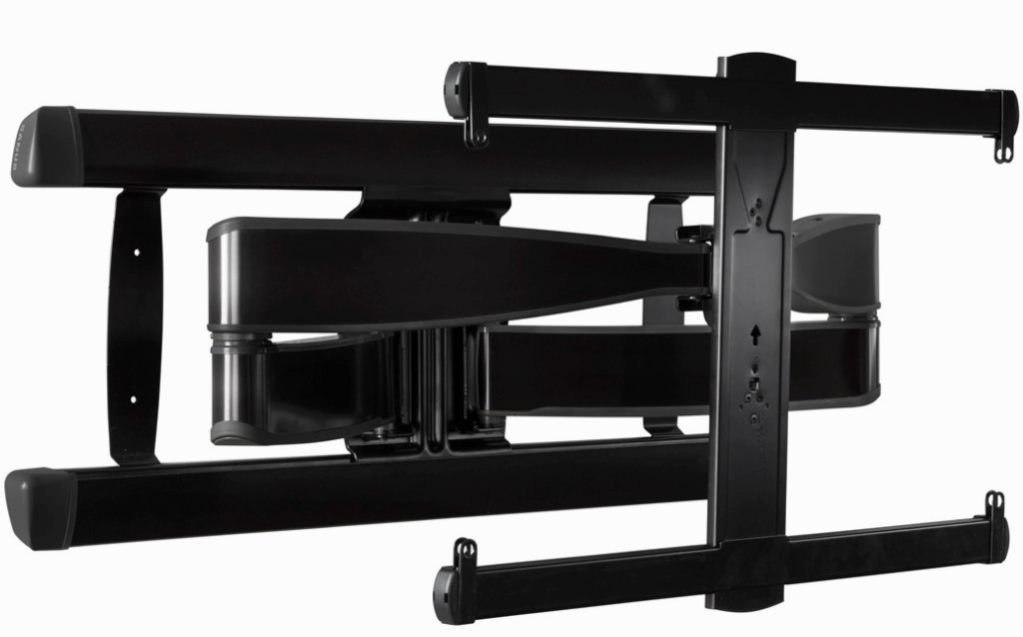
Nothing changes the geometry of a living room like putting the TV on the wall. The media unit stops being a plinth and becomes storage, the cables drop vertically instead of fanning out sideways, and the screen sits at a height that suits a sofa rather than whatever the stand dictated. A full-motion arm lets you angle it toward the sofa for gaming and flatten it back against the wall afterwards.
Sanus and Vogel’s are the two names worth paying for. Both publish clear weight ratings, include the right bolts for most VESA patterns, and have arms that move without that cheap juddering feeling. Check your wall type before buying: plasterboard with no stud behind it needs a different fixing strategy, and that is the step people skip.
$89 – $249
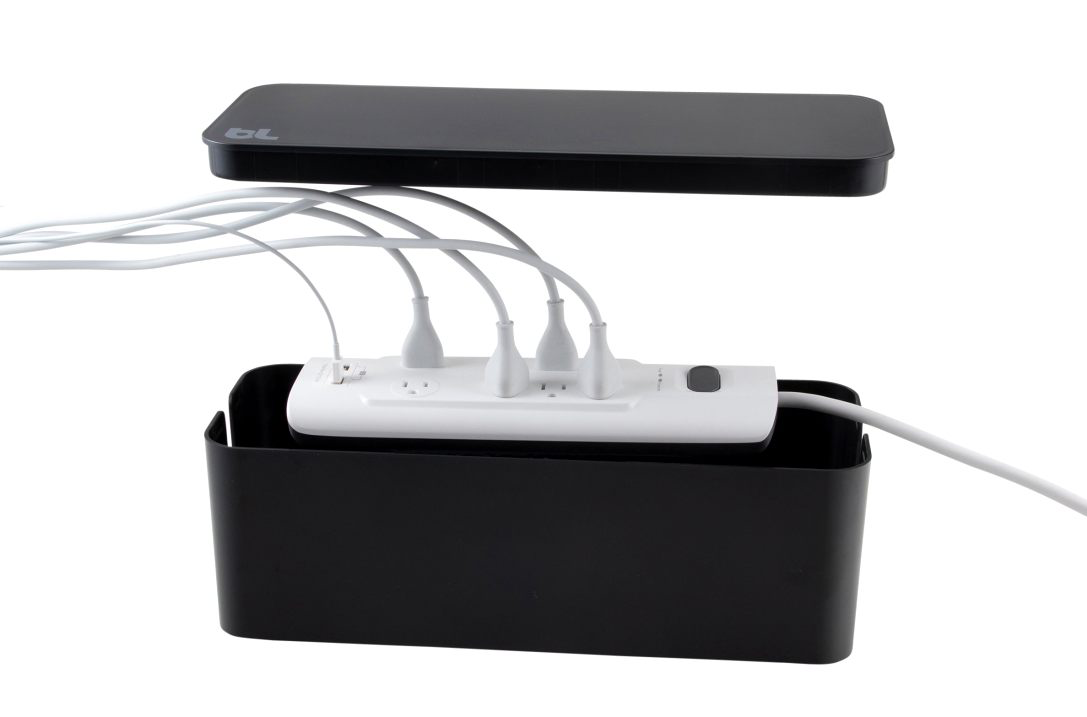
[INSERT IMAGE: BlueLounge CableBox cable management — alt text: “White BlueLounge CableBox concealing a power strip with a single cable exiting the side”]
Cable management is the difference between a setup that looks designed and one that looks assembled. The CableBox is a plain moulded shell that swallows a power strip and the coiled slack from every wall-wart in the room, leaving a single lead running out of it. Pair it with a bag of reusable velcro ties and a few adhesive clips to route the HDMI and controller cables along the back edge of the furniture.
This is the cheapest item here and arguably the highest impact, because every other upgrade on the list is undermined by visible spaghetti. Lighting behind a TV only reads as intentional when there is nothing else back there. Budget an hour, unplug everything, and label the leads with masking tape as you go so you never have to do it twice.
$19 – $39
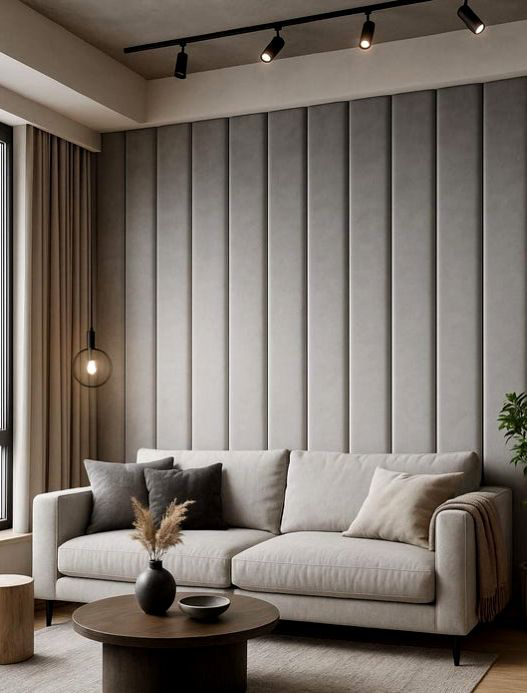
Living rooms are hard surfaces and parallel walls, which means dialogue gets muddy and footsteps in a shooter smear into the room instead of placing cleanly. A handful of fabric-wrapped fibreglass panels on the first reflection points tightens all of it, and lets you run the volume lower for the same clarity, which matters when someone else is in the house.
The aesthetic argument is the real one here. Modern panels come in wool-blend fabrics in olive, charcoal and oatmeal, or as slatted walnut-veneer wood panels that look like a deliberate feature wall. Four to six panels is usually enough for a living room. Hang them at seated ear height on the side walls and behind the sofa rather than scattering them randomly across every surface.
$120 – $400
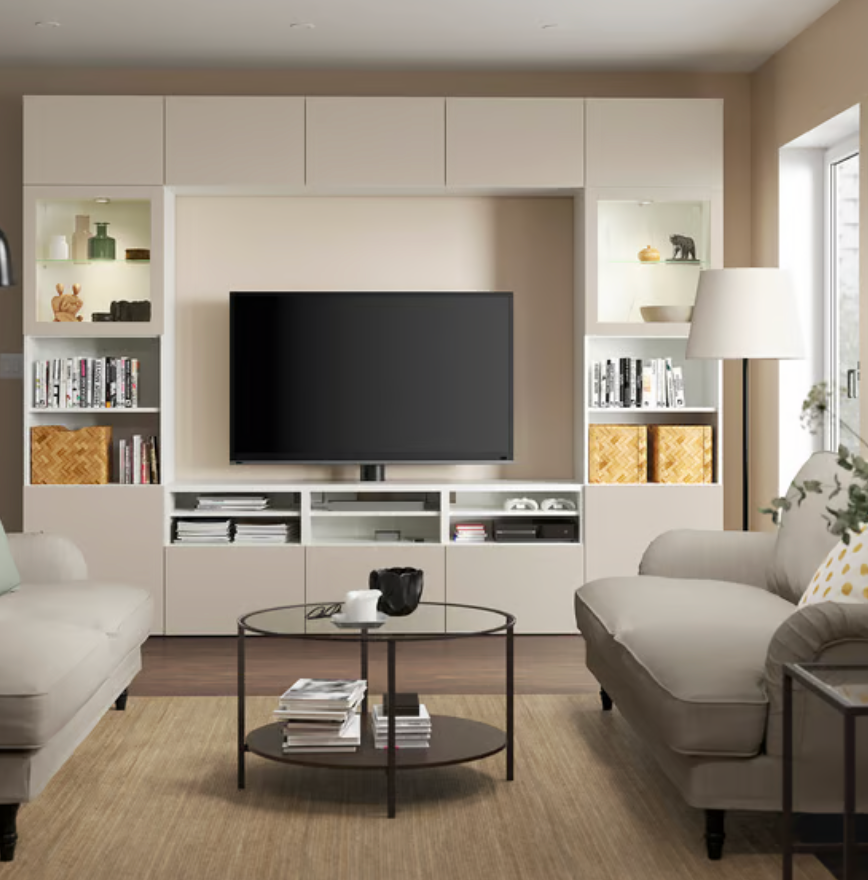
Consoles, a soundbar subwoofer, a router, three generations of controller and a stack of game cases all need somewhere to live. BESTÅ is modular, cheap for what it is, and the version with smoked glass doors is the key configuration: ventilation through the back panels, visibility for IR remotes, and a surface that obscures the blinking LED chaos inside without cutting it off entirely.
You can push it further with very little effort. Swap the stock legs for tapered oak or brass ones from a third-party supplier and the whole unit reads considerably more expensive. Drop a short LED strip inside one open compartment to under-light a couple of display pieces. Drill or cut the pre-scored cable pass-throughs in the back panel rather than running leads over the top edge.
$180 – $450

Daytime console gaming on a living-room TV is a losing fight against a window. Glare washes out dark scenes, HDR highlights stop reading as highlights, and you end up cranking brightness to compensate. Proper triple-weave blackout curtains kill reflected light, and the thermal lining has the side benefit of damping some of the room echo and keeping heat in during winter.
Choose the colour carefully, because this is a big block of fabric in a shared space. Deep charcoal, forest green or a warm clay absorb light well without feeling like a hotel conference room, and they frame the TV wall nicely when the LED backlighting is on. Buy wider than your window measurement so the panels gather properly rather than hanging flat and stretched.
$30 – $80
A room with a console, a soundbar, the curtains shut and two people on a sofa for four hours gets stale fast. The Core 400S is a cylindrical purifier with a HEPA and carbon stack that handles dust, pet dander and the vaguely warm electronics smell that settles into a gaming corner. Dust also means less of it collecting in console intake vents, which is a genuine thermal issue over a couple of years.
It earns a place in an aesthetics-led list because it does not look like an appliance. Matte white or grey cylinder, no screen glare, a dimmable display that switches off entirely in sleep mode. On its lowest fan setting it is quiet enough to sit near the TV without intruding on dialogue, and the app lets you schedule it to run hard while you are out.
$180 – $230
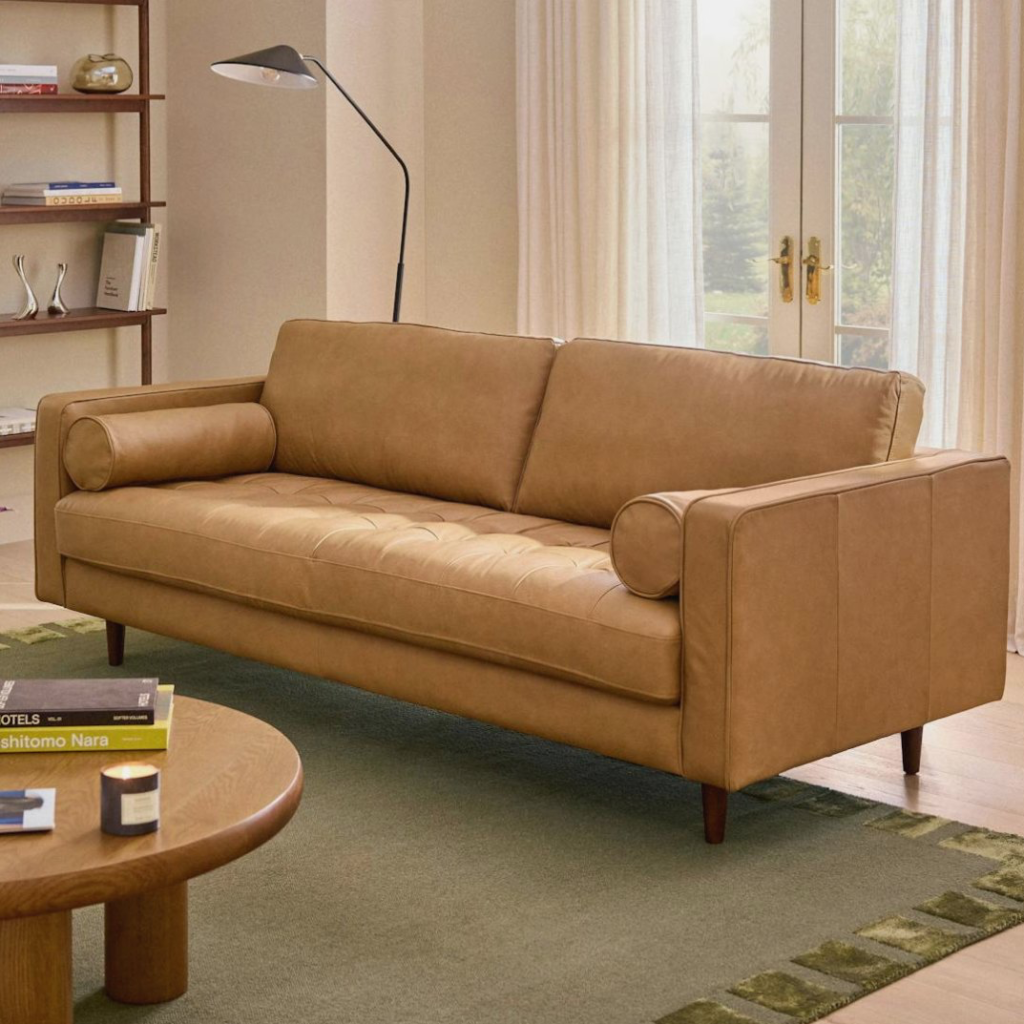
[INSERT IMAGE: Article Sven sofa living room — alt text: “Mid-century style leather sofa with low arms and deep seat cushions facing a living room TV wall”]
This is the eight-hundred-dollar end of the spread, and it is the one that quietly determines whether the rest works. Living-room gaming happens at a reclined angle on a surface designed for watching, not sitting upright. Seat depth, back height and arm height decide whether a three-hour session leaves you comfortable or stiff, and most budget sofas get the depth wrong by several inches.
Look for a deep seat, around 22 to 24 inches, with firm foam rather than the soft fill that collapses after a year. Low arms let you actually lie down. A modular design matters more in a shared household, since you can reconfigure around the TV wall rather than building the room around a fixed three-seater. Leather and performance-weave fabrics both survive snacks better than loose cotton.
$600 – $1,400
How to sequence this without wasting money
The mistake is buying the exciting things first. LED sync kits and acoustic panels are the fun purchases, but they both sit on top of decisions you have not made yet — where the TV lives, where the cables run, what the room looks like with the curtains shut. Sort the structure first and the decorative layer lands properly. Mount, then tidy, then furnish, then light.
Budget-wise, a sensible first pass is the cable management, the curtains and a basic bias light for under a hundred and fifty dollars total. That alone transforms how the corner reads. Everything above that is incremental. Also remember the room is shared: the test for any purchase is whether someone who does not play games would still describe it as an improvement to the living room.
If you do one thing this week, unplug everything behind the TV and put it back deliberately. A cable box, a handful of velcro ties and twenty minutes of routing costs almost nothing and immediately makes the corner look like someone is in charge of it. Add a bias light next, because it is the upgrade with the widest gap between cost and visible effect.
The bigger items — the wall mount, the acoustic panels, the sofa — are the ones to spread over months rather than a single order. They are also the ones that change how the room functions for everyone who uses it, not just the person holding the controller. That is the whole trick with a shared living-room setup: build something that looks good when the TV is off.